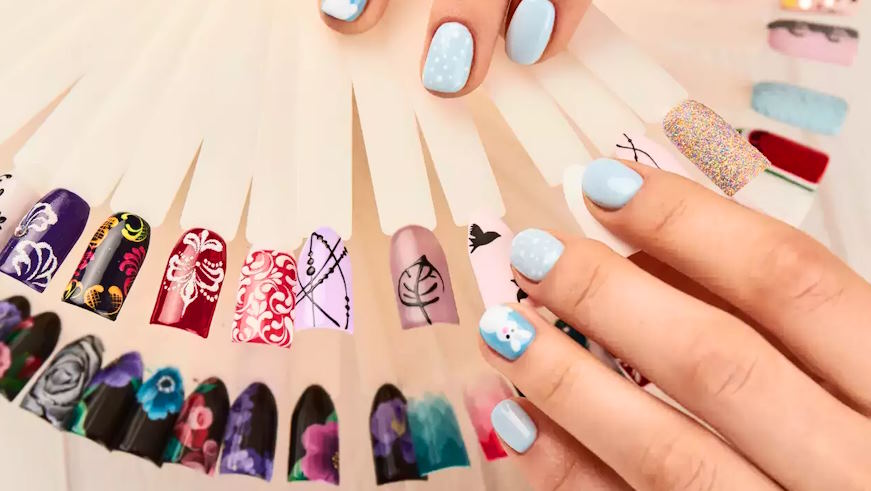
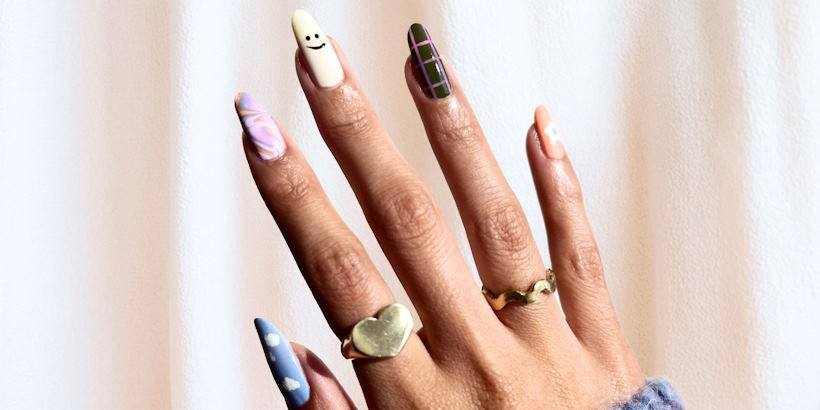
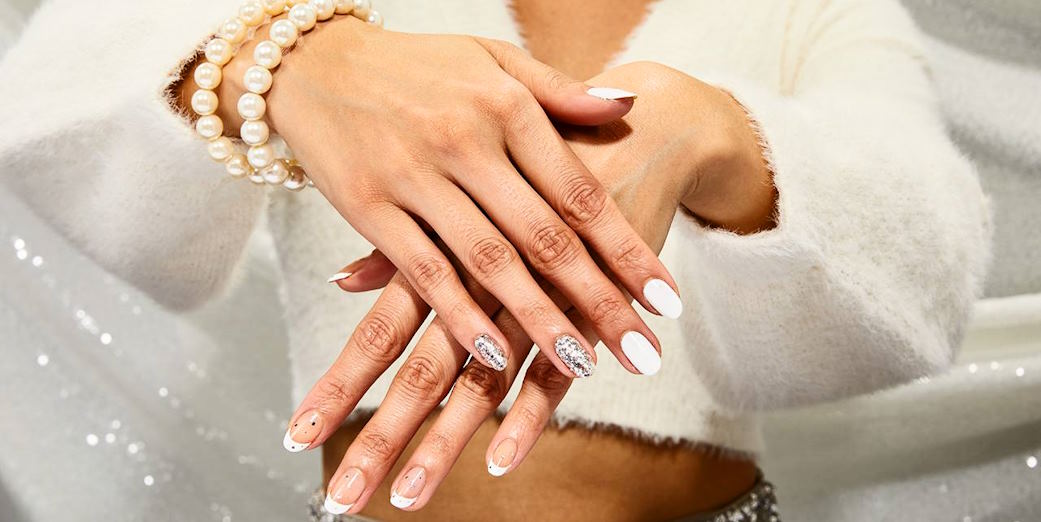
In the world of beauty and self-expression, nail art has emerged as a captivating canvas for creativity. From simple designs to intricate masterpieces, nail art enthusiasts have continuously pushed the boundaries, revolutionizing the way we adorn our fingertips. However, in this ever-evolving realm of artistry, a new trend has taken center stage – the art of mixing and matching different nail art techniques. This innovative approach blends the distinct characteristics of various nail art methods, opening up a world of possibilities for the creation of unique and mesmerizing designs.
Advantages of Combining Nail Art Techniques
Combining nail art techniques offers a plethora of advantages that elevate your nail designs from ordinary to extraordinary. Let’s delve into the captivating world of mix-and-match nail art and discover why this trend has captured the hearts of nail enthusiasts worldwide.
Unleashing Creativity Through Unique Combinations:
One of the most exciting aspects of combining nail art techniques is the freedom it grants to express your unique creative vision. By fusing different methods like stamping, water marbling, gradients, and freehand designs, you have an endless array of possibilities at your fingertips. Experimenting with diverse textures, colors, and patterns allows you to create truly one-of-a-kind nail art that reflects your individual style and personality.

Achieving Intricate and Eye-Catching Designs:
Mixing various nail art techniques enables you to achieve intricacy and depth in your designs that may be challenging to accomplish with just one method alone. For instance, combining stamping with gradients can produce stunning geometric patterns with smooth color transitions, instantly grabbing attention and admiration.
Tailoring Designs to Match Different Occasions or Themes:
Gone are the days of settling for generic nail art designs. With mix-and-match techniques, you can tailor your nail art to perfectly match any occasion or theme. Whether it’s a romantic date night, a festive holiday celebration, or an elegant wedding, you can seamlessly blend techniques to create nails that complement the event’s mood and ambiance.
Overcoming Limitations of Individual Techniques:
Every nail art technique has its unique strengths and limitations. By merging different methods, you can compensate for the weaknesses of one with the strengths of another. For example, if freehand painting isn’t your strong suit, you can use stamping as a base and then add intricate details with freehand to achieve a flawless design.
Step-by-Step Guide to Mixing and Matching Nail Art
Choosing Complementary Techniques and Colors:
Begin your mix-and-match nail art journey by selecting nail art techniques that complement each other. Consider pairing stamping with gradients, or water marbling with freehand designs. Experiment with various color combinations that harmonize and enhance the overall look. Opt for colors that create a seamless blend, or go bold with contrasting hues for a striking effect.

Preparing the Nails and Setting Up the Workspace:
Before diving into your nail art creation, ensure your nails are clean and well-shaped. Trim and file them to your desired length, and push back the cuticles gently. Next, set up your workspace with all the necessary tools and products, such as nail polishes, stamping plates, brushes, and sponges. Having everything within reach will make the process smoother and more enjoyable.
Demonstrating How to Combine Two or More Techniques:
Now comes the exciting part – combining different nail art techniques to create a stunning design. For instance, you can start with a gradient base, then use stamping to add intricate patterns or images. Alternatively, try water marbling two complementary colors and accentuate with delicate freehand details. The key is to work step-by-step, ensuring each technique complements the previous one seamlessly.
Tips and Tricks for Flawless Execution:
To achieve flawless mix-and-match nail art, practice patience and precision. Make use of liquid latex or tape around the nails to minimize cleanup afterward. When stamping, apply even pressure and work quickly to transfer the design effectively. For gradients, use a sponge and blend the colors gently. When incorporating freehand details, use thin brushes and take your time for precise lines and shapes. Remember, practice makes perfect, so don’t be discouraged if your first attempt isn’t flawless.

